My brand new cookbook is out on Amazon! It’s called “30-Minute Plant-Based Recipes” and it’s perfect for busy vegans. Grab it now!
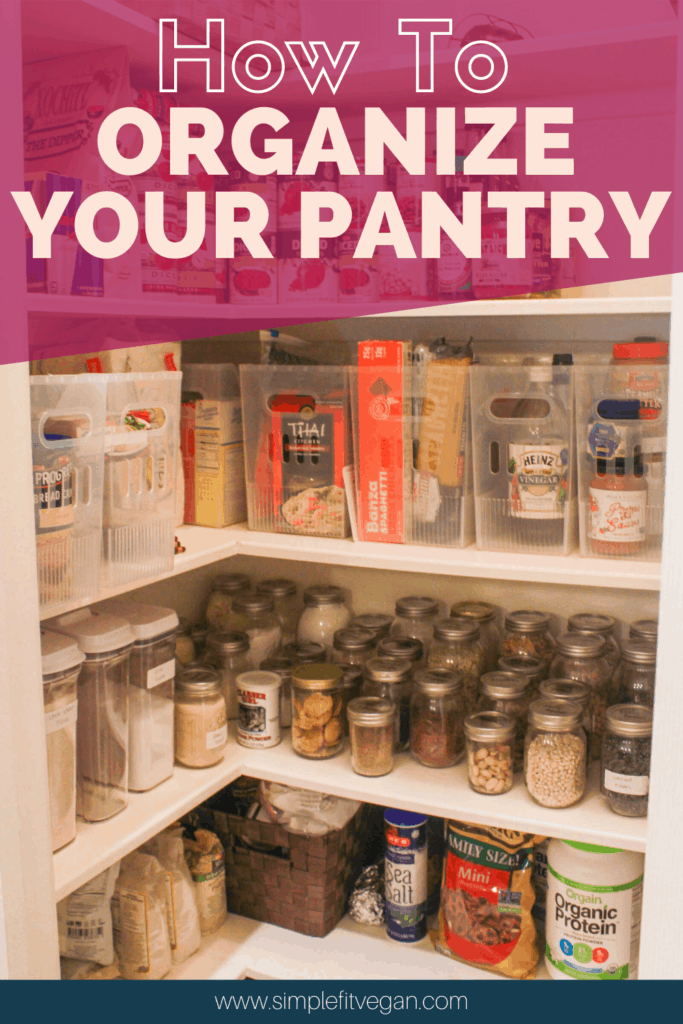
Simple steps to organize your pantry shelves whether you’re working with a small space or a walk-in pantry.

Welcome to Day 9 of our Two-Week Plant-Based Cooking Challenge! While today’s challenge isn’t about cooking, keeping and organized pantry is key to reducing stress in the kitchen, maintaining your sanity, and reducing food waste.
What’s this challenge? We will be cooking a brand-new plant-based recipe every day for the next two weeks together! All recipes are pantry-friendly, easy to make, and will NOT require hard to find ingredients (because grocery shopping ain’t the same anymore!).
+ Giveaways: Follow along and if you make one of the recipes and post a picture of your creation in our Facebook group, you will be entered into a giveaway for a chance to win one of the editions of my digital cookbook “10 Vegan Meals in 1 Hour”. Winners will be picked every other day over two weeks!
Steps To Organize Your Pantry
Step 1: Empty contents of your pantry. Take everything out! Lay out contents of your pantry in piles on your kitchen counter, kitchen table, and/or kitchen floor. You need to be able to see everything you have in your pantry in order to organize it.
Plus, emptying your pantry will help you start with a blank slate.
Step 2: Wipe down all shelves in your pantry. Chances are there’s dust, minor spills, and some sticky corners. Wipe everything clean.
Step 3: Mark your anchor shelf. The “Anchor Shelf” is the shelf that you can reach with your arm extended out. It is the shelf that is at your eyesight level.
This will be the first shelf you will start to organize and will be your “Anchor Shelf”.

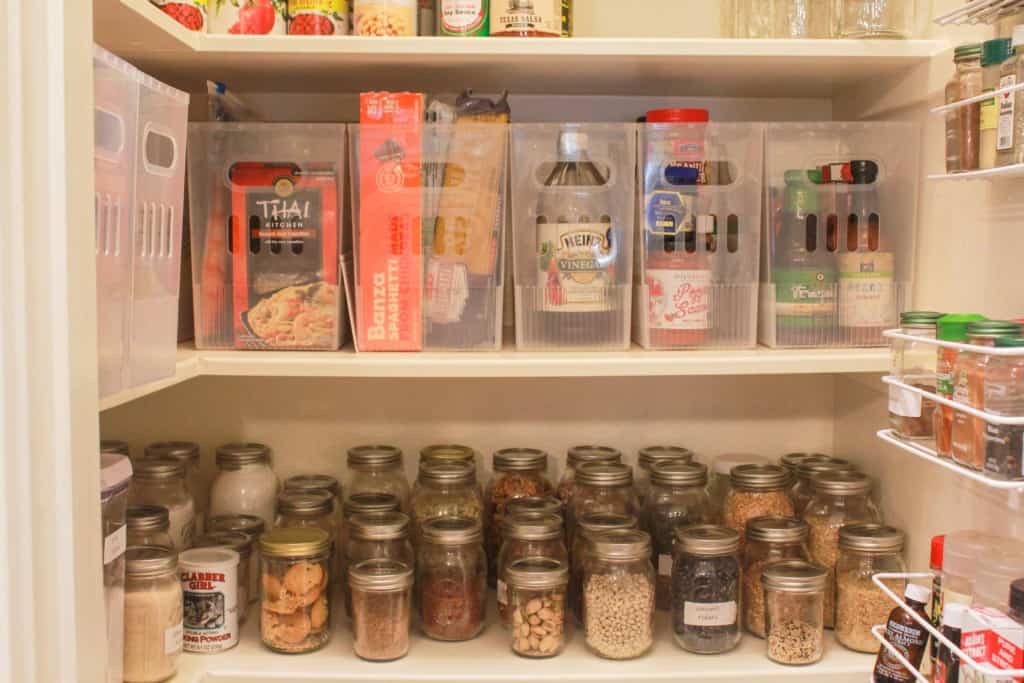
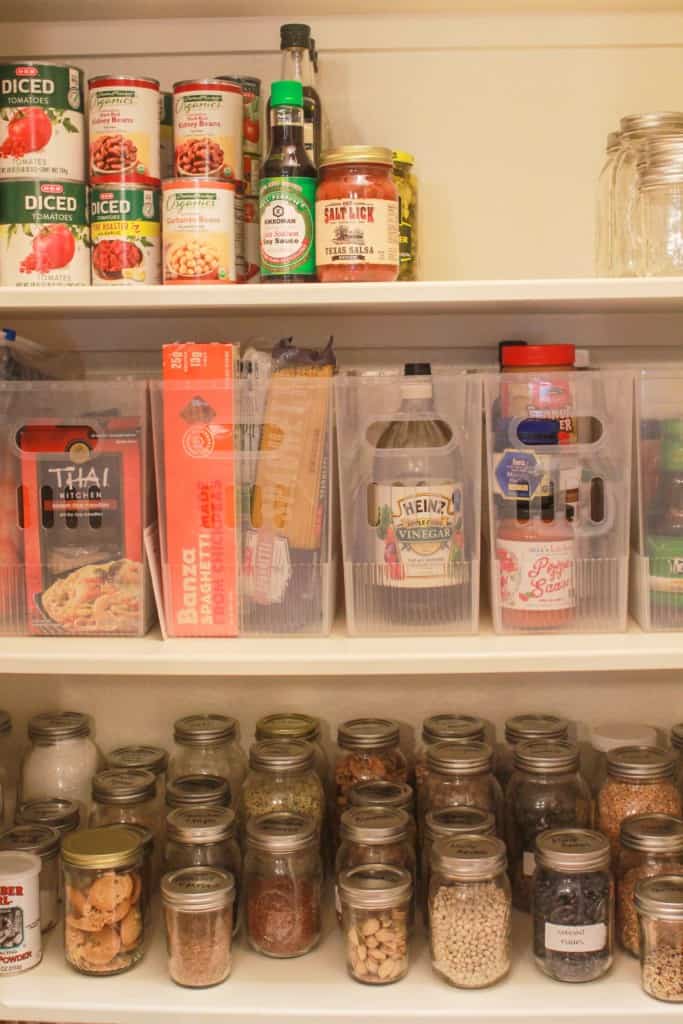
Put items that you access the most here such as pasta, condiments, oils, and sauces. I like to use the plastic drawer containers from the Container Store to organize my anchor shelf. I also like to put some of the heavier items in these drawers so that they’re easily accessible.
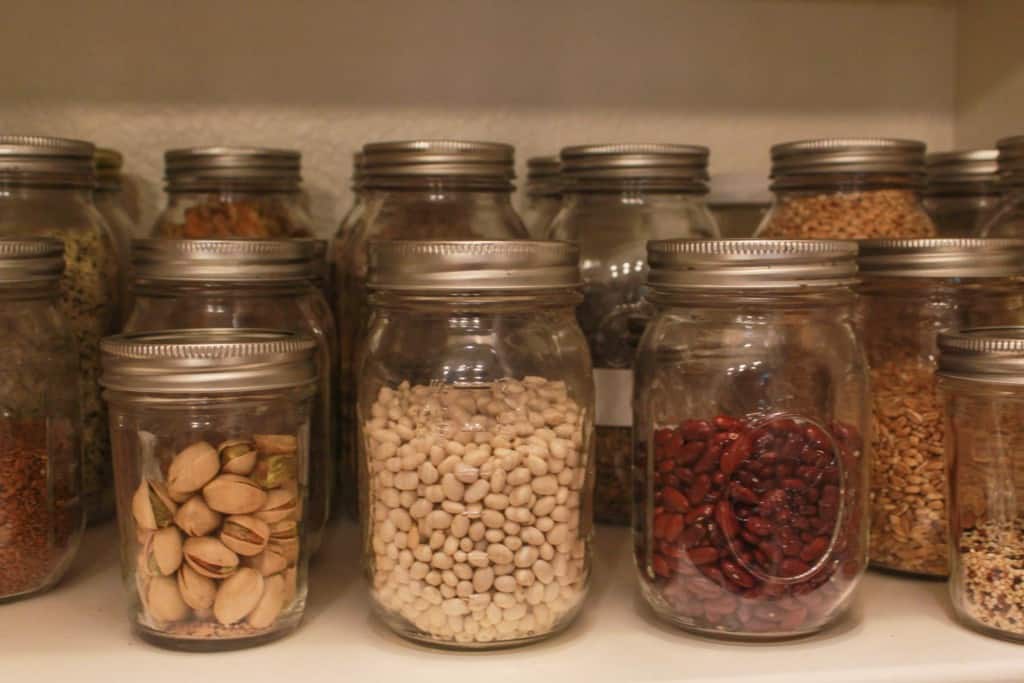
Step 4: Designate the shelf underneath your anchor shelf as your “Mason Jar” shelf. This is where all your grains, beans, legumes, nuts, seeds, and baking supplies will go.
I strongly recommend using mason jars to store grains and dried beans for several reasons. Firstly, glass jars are less toxic than plastic. Secondly, they keep the air and moisture out pretty well. Thirdly, mason jars are relatively cheap and are sold in many grocery stores and online.

Tips on labeling: Use a permanent marker to write the contents on top of the lid of mason jars. You don’t need any fancy labels! The permanent marker easily washes off with soap and water. If you’re having trouble, you can erase it with rubbing alcohol, and it will come right off.
Step 5: Put the heaviest items on the very bottom shelf of your pantry such as pet food, bulk items, soft drinks, etc.
Step 6: Now, we’re moving north of our Anchor Shelf. Put canned items right above the anchor shelf.
Useful tip: designate areas on this shelf for your family members to have easy access to their items. For instance, I have a small area where I store my husband’s energy drinks so that he can them easily.

Designating areas or corners of your pantry for certain family members will not only help them find their stuff easily without asking you but also help keep the entire pantry organized because they won’t have to sort through various baskets to find their stuff!
Step 7: Put the items you use least on top shelves of your pantry. I like to keep things like mandolin, popcorn maker, and pasta maker on very top shelves.
Step 8: Organize your spices. If you have a lot of spices, I recommend you buying a spice rack and mounting it on the wall or door of your pantry. Always organize your spices in alphabetical order!
My brand new cookbook is out on Amazon! It’s called “30-Minute Plant-Based Recipes” and it’s perfect for busy vegans. Grab it now!
Leave a Reply